Publish your services and share online booking
Your Revively portal lives on your own subdomain - for example your-studio.revively.app. Customers browse your services, pick a time, and book without calling reception. This guide walks through preparing your catalog, turning on the portal, and sharing booking links on Instagram, other social channels, your website, and printed QR codes.
Before you start
You need:
- A Growth plan or higher (Online Portal is a Growth feature).
- A public business address set under Settings → Identity - this is your workspace URL slug (for example
revdemo-spa). - At least one active service with Can be booked online turned on.
- Business hours configured so the booking flow only shows real open slots. See Business hours and holidays.
If you are new to services and rooms, start with Services and resources.
Step 1 - Make services bookable online
Only services with online booking enabled appear in your public catalog and in share links.
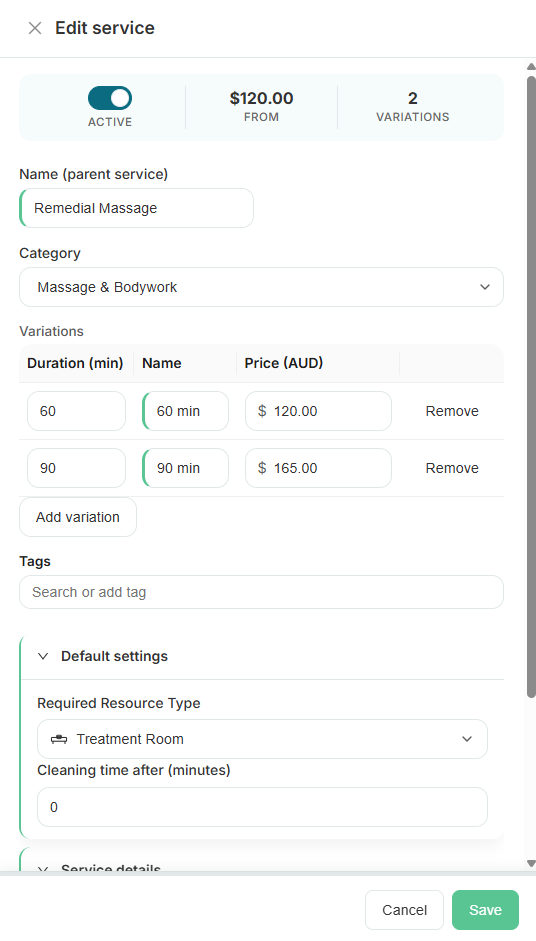
- Go to Services and open a service (or create one).
- In the Online Booking accordion panel, turn on Can be booked online.
- Add an Online booking details description - this is what customers read when they choose that service. Keep it short and specific (duration, what is included, who it is for).
- Set duration, price, and any deposit if you want card commitment at checkout. See Reduce no-shows with deposits.
- Save. Repeat for every service you want on Instagram, your website, or the portal menu.
Tip: Services that are inactive or have online booking off are hidden from share links and the public booking form.
Step 2 - Turn on the Online Storefront
Storefront settings control your public homepage at the business URL root (for example your-studio.revively.app/).
- Go to Settings → Online Storefront.
- Turn on Enable Storefront. When this is off, guests cannot browse your public homepage.
- Turn on Online booking so Book CTAs and the book flow are available from the storefront.
- Choose which homepage sections to show (staff, services, packages, classes, events, gift cards).
- Optionally pick a Homepage layout template.
- Click Save changes when the sticky save bar appears.
Copy the Storefront URL at the top of this section if you want a general link to your public homepage.
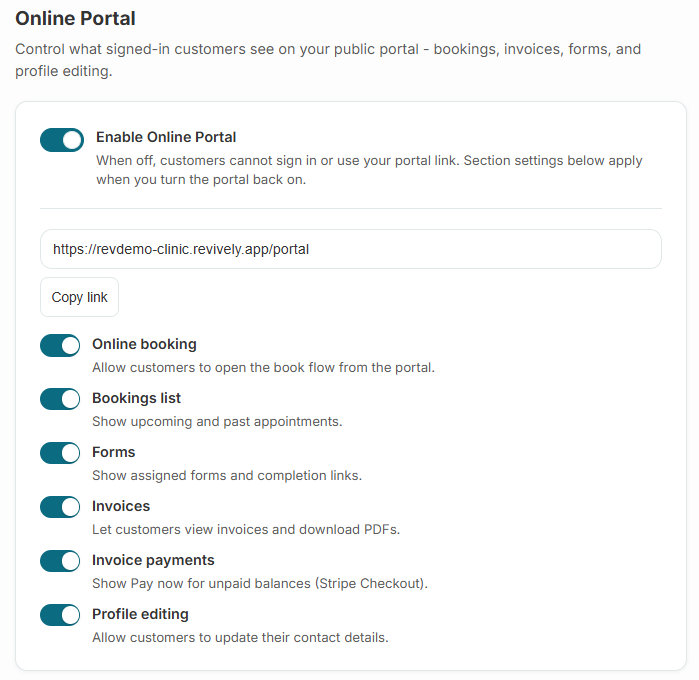
For signed-in customers (bookings list, forms, invoices), use Settings → Online Customer Portal and turn on Enable Customer Portal.
Step 3 - Share links and QR codes
Settings → Online Sharing is where you publish booking to Instagram and other channels. All links use your tenant subdomain - customers stay on your branded Revively storefront, not a third-party widget domain.
Bio link (Instagram, TikTok, Linktree)
- Go to Settings → Online Sharing.
- Find Bio link (Instagram profile).
- Click Copy link. The URL opens your public storefront on your subdomain (for example
https://your-studio.revively.app/). - Paste it into your Instagram Website field, TikTok bio, Linktree, or any link-in-bio tool.
The bio link opens your mobile-friendly booking flow. Customers pick a service and time without signing in first.
General booking link
Use Booking link when you want one URL that goes straight to the full appointment form (/portal/book). Good for:
- Facebook or Google Business Book now buttons
- Email signatures
- SMS campaigns
- A Book button on your own website (instead of the embed widget)
Per-service booking links
Promote a single treatment, class type, or package on a Story, post, or flyer:
- In Per-service booking link, choose a service from the dropdown.
- Copy Link for [service name].
- Share that URL on Instagram Stories, WhatsApp, or paid ads.
The link pre-selects that service in the booking form so customers skip hunting through the full list. You can also download a QR code for the same URL - useful on printed menus, treatment room cards, or reception signage.
QR codes
- Bio link QR - one code for your front desk or window; scanning opens the same flow as the Instagram bio link.
- Per-service QR - download a PNG per service for class cards, flyers, or Instagram Story stickers.
Click Download PNG to save a print-ready image.
Step 4 - Embed on your website
If you already have a WordPress, Wix, or Squarespace site, you can show your class schedule and packages without rebuilding checkout on your own domain.
- On Settings → Online Portal, open Configure embed snippet.
- Turn on Enable website embed and set your brand color and corner radius.
- Copy the HTML snippet and paste it into a page on your site.
- The embed renders classes and packages lists. Book and Buy buttons open your hosted Revively portal for checkout - payments and confirmations stay on your subdomain.
Checkout always happens on your portal, so Stripe, deposits, and confirmations work the same as a direct booking link.
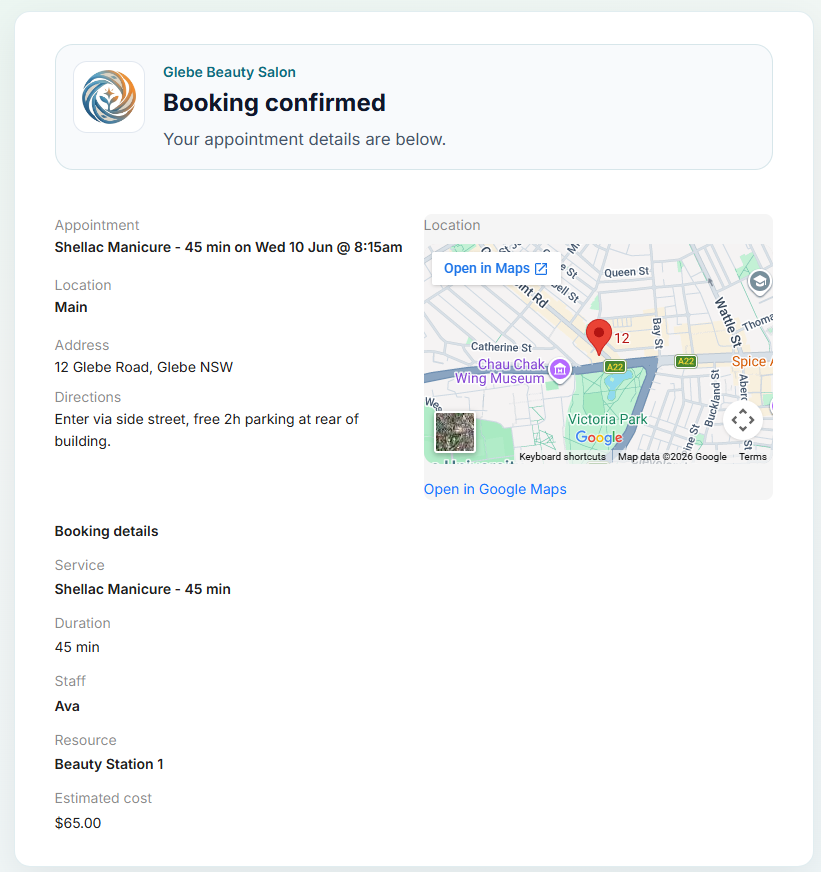
Step 5 - What customers experience
When someone opens your bio link, booking link, or QR code:
- They see your business name and a Book appointment form.
- They choose Service and Duration (if the service has variations).
- If you run multiple locations, they pick a Location.
- They enter contact details (or sign in to the portal to use saved details).
- They pick Start date and Start time from slots that respect your hours, staff, resources, and cleaning buffers.
- They submit the booking.
If the service has a deposit and Stripe is connected, they pay during checkout. Otherwise they may see Pay later or package options if they are a member with entitlements.
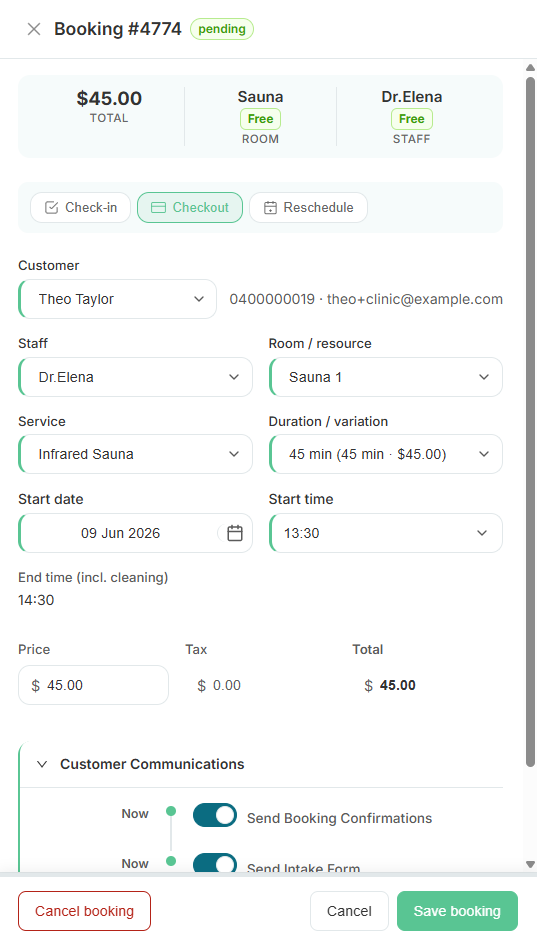
After submit, the booking follows Settings → Business rules → Bookings → Require confirmation for online bookings:
- Always (the default, including accounts that have not changed this setting) saves the booking as pending. Staff approve it from the dashboard before confirmations and reminders go out.
- New customers only does that when the customer has no earlier booking on the account except cancelled ones. Someone created during this checkout counts as new. A pending, confirmed, arrived, in progress, completed, cleaning, or no-show booking means they are not new.
- Don't require confirmation saves the booking as confirmed and sends the confirmation straight away.
Staff-initiated actions stay confirmed and send the confirmation as before: staff waitlist promote, and Emma acting for a staff member in the admin. Only customer-initiated paths follow Require confirmation for online bookings: widget, portal, online checkout, public/customer-facing Emma chat, and a customer accepting a waitlist offer.
Deep links you can build yourself
Share links from settings already include the right parameters. You can also append these to /portal/book or /book on your subdomain:
| Parameter | Example | Effect |
|---|---|---|
service |
?service=<uuid> |
Pre-selects a service |
variation |
?variation=<uuid> |
Pre-selects a duration or price option |
location |
?location=<uuid> |
Pre-selects a site (multi-location accounts) |
date |
?date=2026-07-15 |
Pre-selects the start date |
Invalid or deleted IDs are ignored safely - the form falls back to a normal empty state.
For classes, use ?tab=classes on a booking URL to send customers to the class schedule instead of appointments.
Step 6 - Promote on Instagram and other channels
| Placement | What to use |
|---|---|
| Profile website field | Bio link from Share & QR |
| Story sticker (Link) | Per-service booking link for the service you are promoting |
| Story image / Reels end card | Bio link QR screenshot or downloaded PNG |
| Caption CTA | Booking link or per-service URL |
Instagram opens links in an in-app browser. Revively booking pages are mobile-first - no horizontal scroll, no login wall for guest booking.
Facebook, Google, and email
- Add the Booking link to your Facebook Page Book now action or pinned post.
- Put the same link on Google Business Profile if you use appointment URLs.
- Add a per-service link to treatment-specific email campaigns.
In-studio and print
- Print the Bio link QR at reception.
- Put per-service QR codes on room doors, class cards, or product shelves.
- Pair with a display board so walk-ins see today's timetable while they scan.
Step 7 - Staff workflow after a booking
- New online bookings appear on the calendar. When confirmation is required they stay pending and create an Approve online booking task.
- Open the booking and Approve to confirm, or reject if the slot cannot be honoured. Change the rule under Settings → Business rules → Bookings.
- On approval, or immediately when confirmation is not required, confirmations, reminders, and calendar sync run.
- Online bookings are tagged Online Booking for reporting.
Review Your online booking portal for branding, custom domains, and what signed-in members see after they book.
Checklist
- [ ] Public business address set under Identity
- [ ] Business hours and holidays accurate
- [ ] Services active with Can be booked online on
- [ ] Online Portal enabled with Online booking on
- [ ] Bio link pasted in Instagram (or other social bio)
- [ ] Per-service links or QR codes ready for campaigns you run often
- [ ] Stripe connected if you take deposits or pay-now online
- [ ] Test booking completed from your phone using the bio link
Related guides
- Your online booking portal - branding and member portal features
- Custom domain for online booking - use your own domain instead of
.revively.app - Classes and waitlists - share class schedules, not just appointments
- Connect Stripe - deposits and invoice pay-now