Set up your online storefront homepage
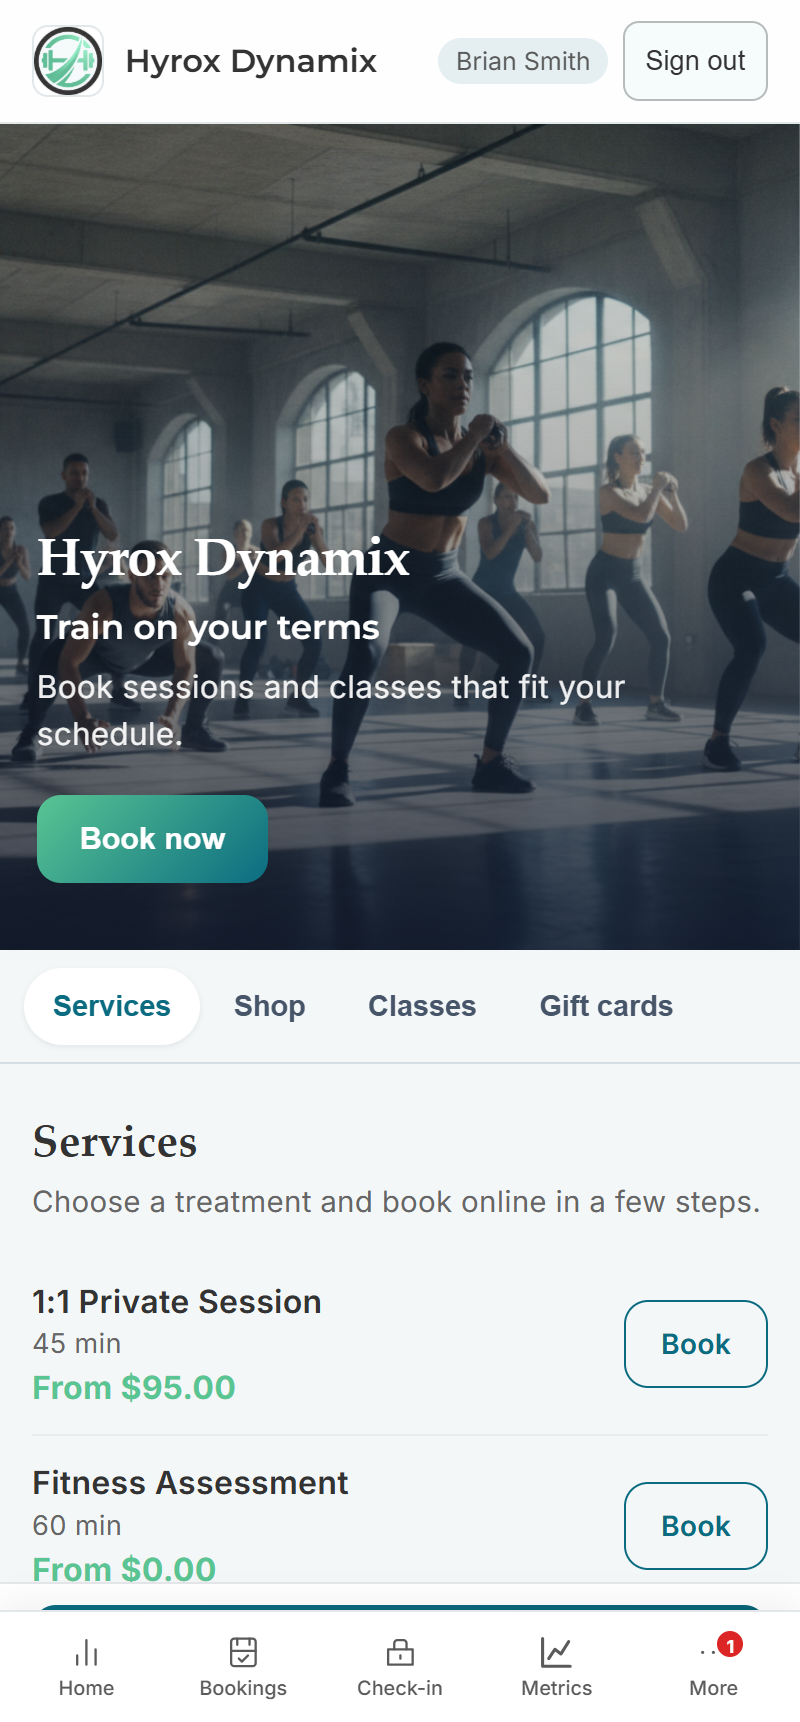
Your storefront is the page a customer sees at the root of your business URL - for example your-studio.revively.app. It carries your logo, a hero image, a Book now button, and tabs for everything you sell: services, shop, classes, and gift cards.
It is not a widget parked on someone else's domain. Customers browse, book, and pay without ever leaving your address.
Step 1 - Turn the storefront on
- Go to Settings → Online Storefront.
- Turn on Enable Storefront. While this is off, guests cannot browse your homepage.
- Turn on Online booking so the Book now button and booking flow are available.
- Copy the Storefront URL at the top of the section - this is the link for your Instagram bio, Google Business profile, and email footer.
Step 2 - Choose which sections appear
Each toggle adds a tab and a section to the homepage. Turn off anything you do not sell.
| Section | Shows |
|---|---|
| Staff on homepage | A meet-the-team grid, when you have two or more bookable staff |
| Services | Your online-bookable appointment menu with prices |
| Packages | Session packs and memberships guests can buy |
| Classes | Upcoming class sessions guests can book |
| Events | Upcoming ticketed events and workshops |
| Gift cards | Gift card presets and a contact prompt |
Retail items appear under a Shop tab automatically once you have items with online selling turned on - see sell retail items.
Step 3 - Style the hero
Under Homepage layout, pick a Template and set a Hero image. Use a real photo of your space if you have one - a generated image is a decent stand-in until the photographer visits. Your logo and brand colour come from Settings → Design and carry across the portal, booking flow, and emails.
Keep the headline short and say what someone gets, not what you are. "Train on your terms" beats "Welcome to our website".
What customers can do from here
- Book a service - pick a treatment or session, choose a time, and check out as a guest or member.
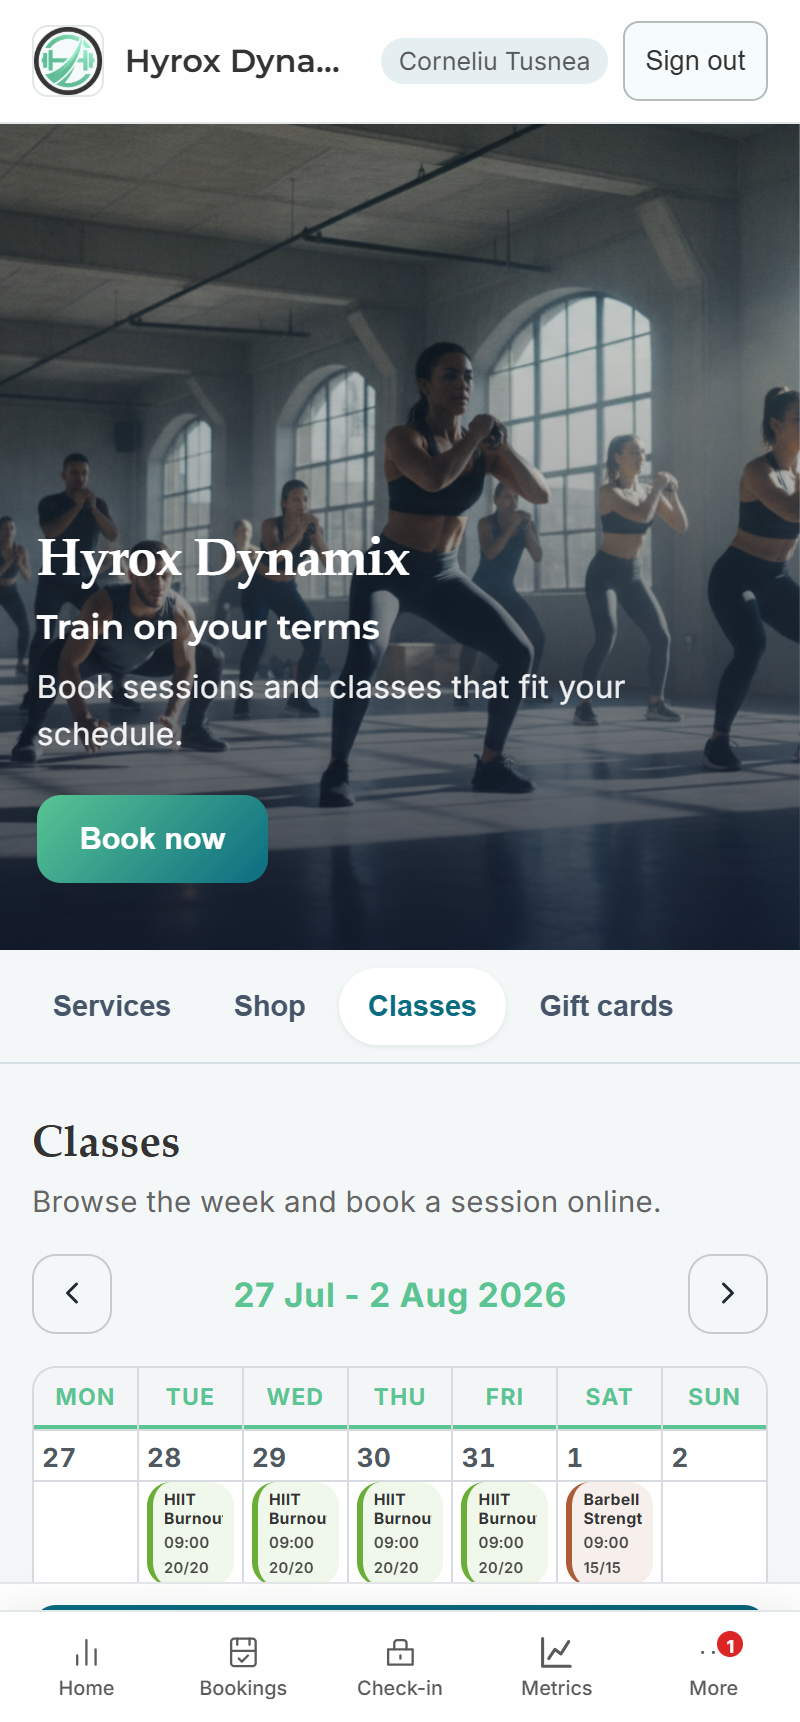
- Browse the class week - the Classes tab shows the week with live capacity on each session, so a full class reads 20/20 before anyone clicks.
- Buy from the shop - retail products with photos, descriptions, and Stripe checkout.
- Buy a gift card or package - the same checkout, tracked against the customer profile.
- Sign in - existing customers get bookings, forms, invoices, and progress in the same place.
Before you share the link
- Open the storefront in a private browser window - that is what a stranger sees.
- Check that every service you want bookable has online booking turned on. Inactive services are hidden.
- Check prices and durations on the public page, not just in the dashboard.
- Book one appointment end to end as a guest, including payment, so you know the confirmation email and SMS look right.