Sell a multi-week course
A course is a class series with a fixed end that you sell as one product with one payment - an 8-week beginner salsa course, a 6-week intro to reformer. The buyer gets a reserved seat in every session in the series, and Revively raises a single invoice.
Courses use the same records as classes (same roster, check-in, and calendar), so nothing new to learn on the day. What changes is the commercial shape. See your catalogue explained for how courses differ from classes, programs, and packages.
Step 1 - Create the course
- Go to Catalogue → Courses and create a new course.
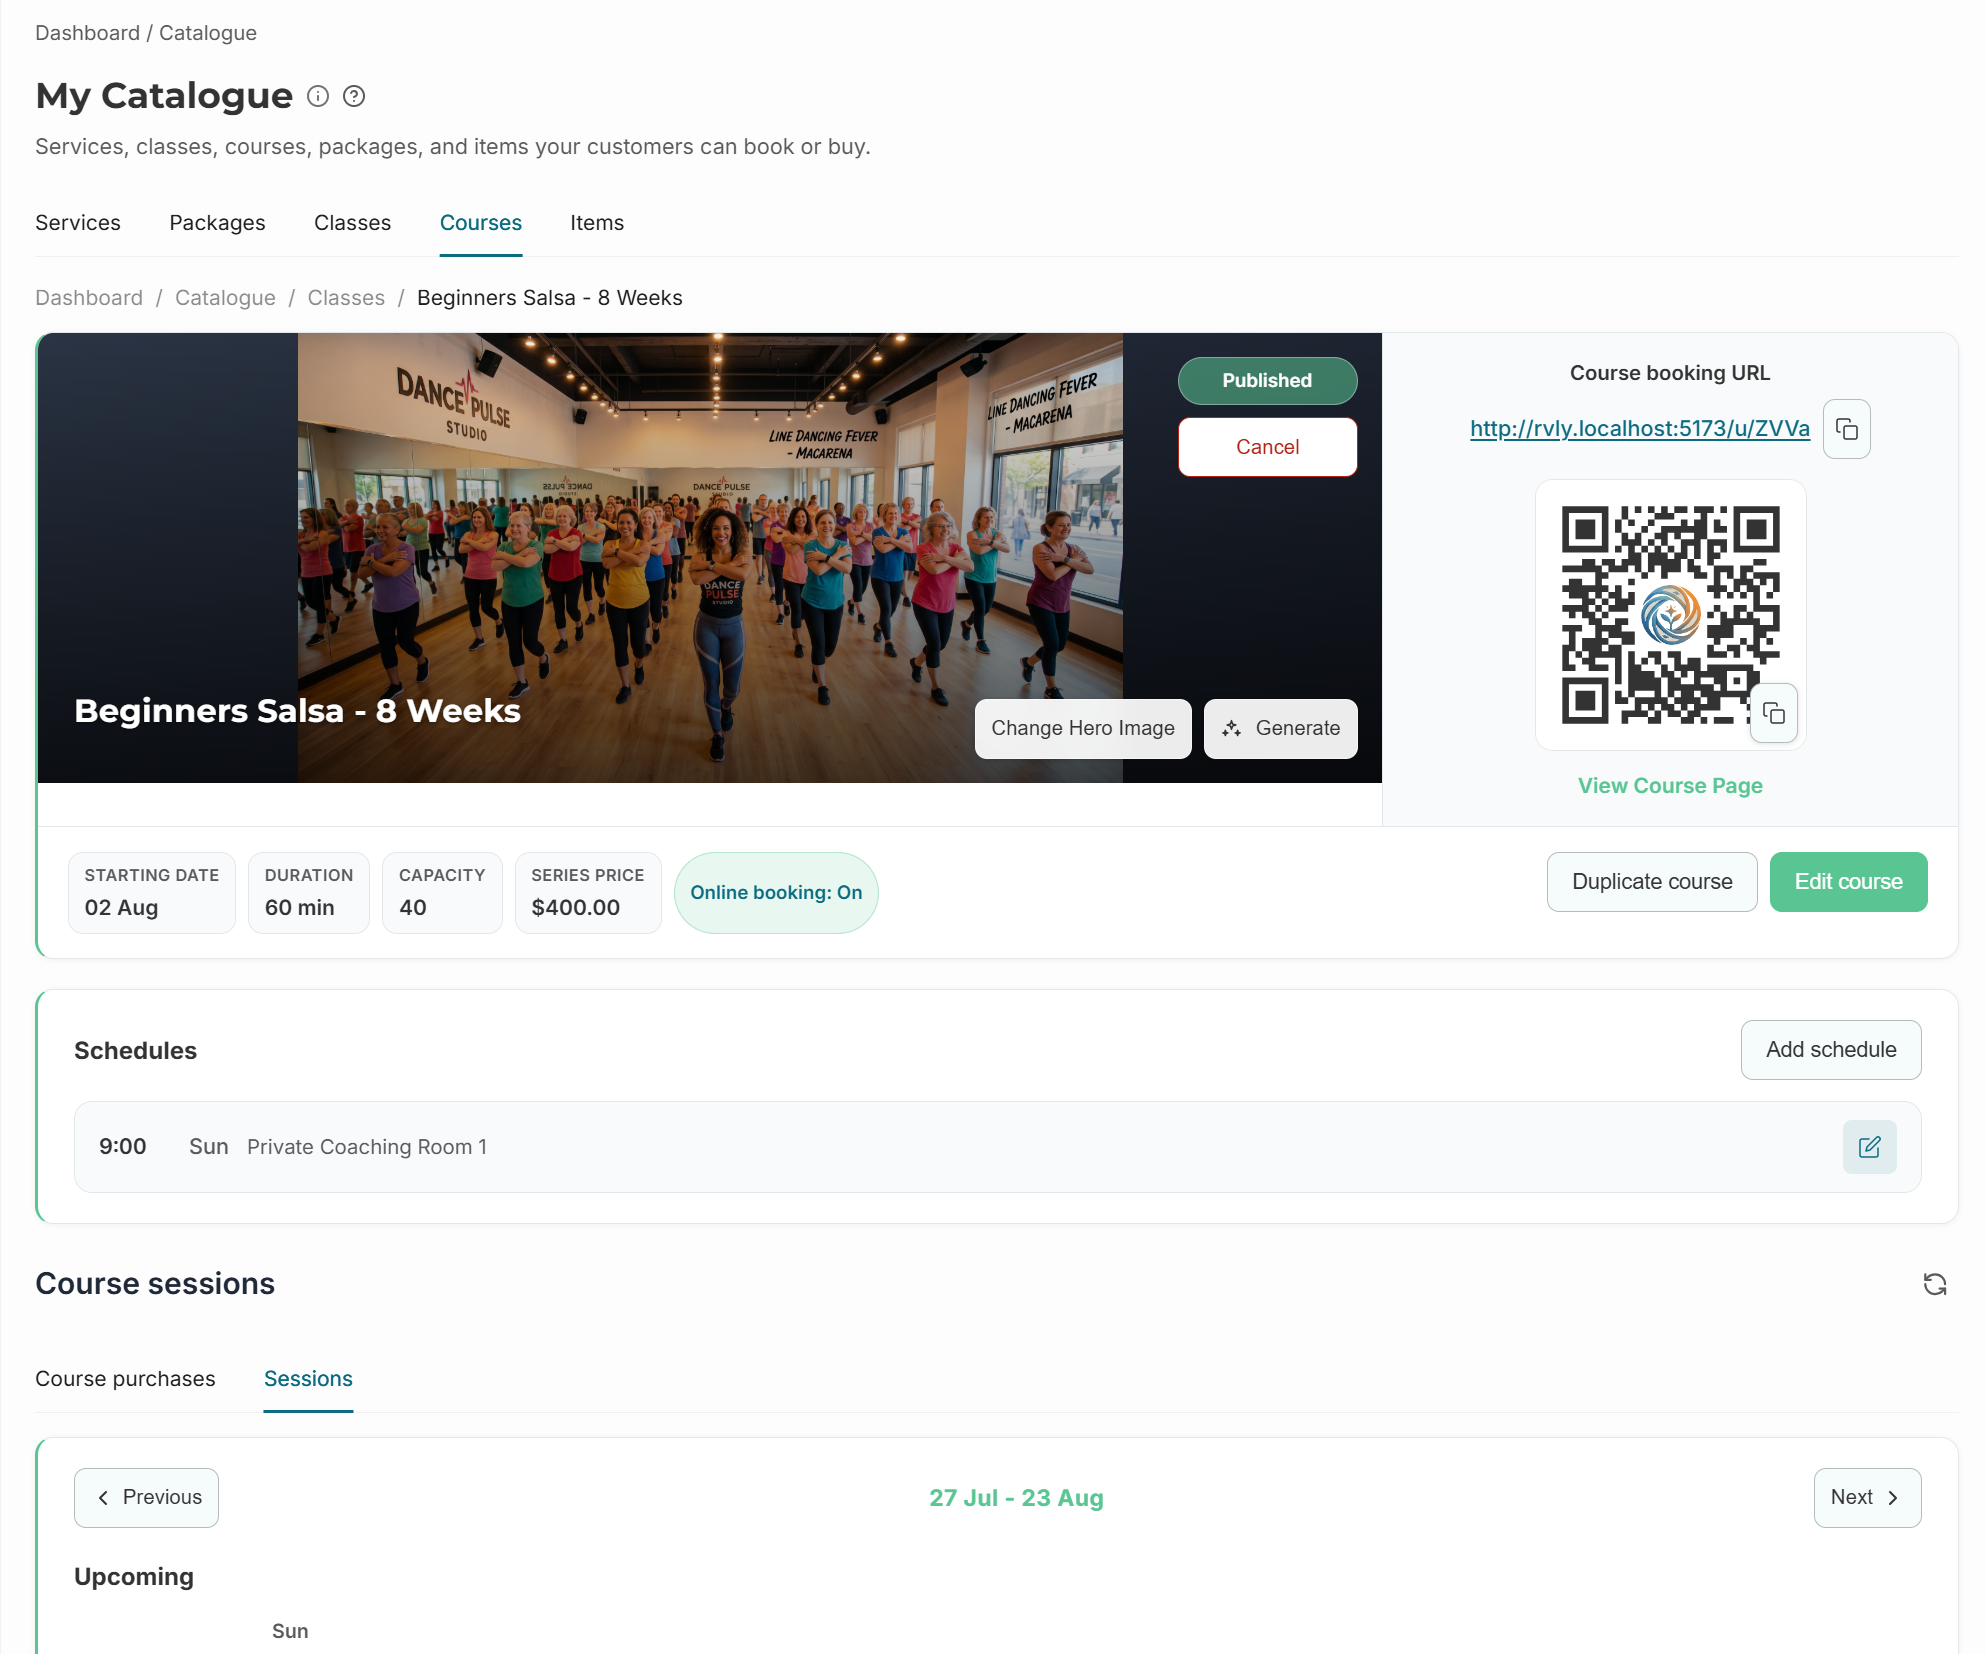
- Enter the name - be explicit about the length, for example "Beginner Salsa - 8 Week Course".
- Set Duration, Capacity, and a Category.
- Set Price (AUD). This is the series price - what someone pays for the whole run, not per night.
- Add a description and hero image under Online selling if you plan to sell it in the portal.
A course has no drop-in price. If you also want people to buy single nights, run it as a class instead.
Step 2 - Add a schedule with a fixed end
- Add a schedule to the course: start date, start time, and weekday.
- Choose how the series ends - after a number of occurrences (for example 8) or on a date.
- Save. Revively generates the individual sessions from the schedule.
Course schedules must have an end. A course without an occurrence count or end date cannot be saved, because the price covers a defined number of sessions.
Step 3 - Publish it for online sale
Turn on Online booking on the course and publish it. Revively requires a series price before online selling can be enabled - customers cannot be shown a course with no price.
Once published, the course appears in your storefront and customers can buy the whole series and pay in the portal. The course page also gives you a share URL and a QR code for flyers and the front desk.
Step 4 - Sell at the desk
- Open the course and switch to the Course purchases tab.
- Choose Sell course.
- Pick the Attendee. Set a Payer as well when a parent or partner is paying for someone else - leave it blank when they are the same person.
- Adjust the Course price (AUD) if this sale needs a different amount.
- Tick Mark as paid now when you are taking payment at the desk. Leave it unticked to raise an invoice they can pay later.
- Choose Sell course.
If any session in the series is already full, the sale is blocked and Revively lists the sessions and their capacity so you can free a spot or pick a different run.
What happens when a course sells
- The attendee is enrolled in every session in the series and holds that seat for the whole run.
- One invoice is raised for the series price, not one per session - unless you attach an instalment payment plan under Financials, in which case checkout charges the first instalment and later invoices follow the plan.
- The purchase appears on the Course purchases tab with its status and invoice state.
Missing one night does not create a credit or a makeup session. That is the point of a course - the seat is reserved either way.
Manage a purchase
Open a row on Course purchases to see sessions attended, sessions remaining, amount paid, and anything outstanding.
- Take payment / View invoice opens the linked invoice, where you charge a card, a terminal, record cash, or request a bank deposit or PayID.
- Resync roster adds missing sessions to the roster - use it after you extend the schedule.
- Cancel course releases future sessions and keeps past attendance for history. Refund the linked invoice separately from the invoice screen.
Changing the schedule after it sells
Adding sessions to a sold course extends the roster automatically for everyone who bought it. Shrinking a sold course is guarded, because buyers paid for a set number of sessions - Revively warns you and records a note on the affected purchases.
Related
- Your catalogue explained - course vs class vs program vs package
- Recurring classes and waitlists
- Invoices, walk-in sales, and refunds
- Payment policies and payment plans